Centaur® Smart Sensor Installation and Internet-of-Crops® Platform Setup Guide
This guide describes how to activate and install Centaur® Smart Sensors and repeaters, and how to configure and verify them using the Internet-of-Crops® platform.
1. Scope and Purpose
This document covers:
-
Safe activation of Centaur® Smart Sensors
-
Recommended installation practices for sensors and repeaters
-
Repeater/Extender activation procedures
-
Initial platform access and navigation
-
Wireless network discovery and validation
- Best practices for sampling rates and battery longevity
2. Sensor Activation
2.1 Activation Method
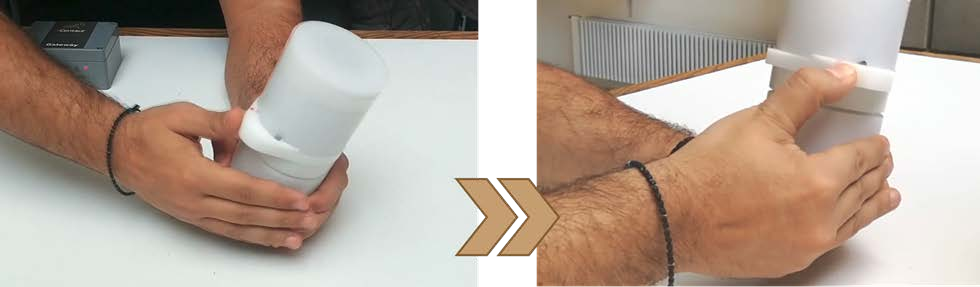
Centaur® Smart Sensors are fully sealed and gas-proof, designed for use in harsh environments, including phosphine fumigation. For this reason, sensors do not use mechanical switches. Activation is performed using an external magnetic activation ring.
2.2 Activation Procedure
-
Locate the magnetic activation ring on the sensor.
-
Rotate the ring counter-clockwise to the ON position.
-
Confirm successful activation:
-
Two 1-second audible beeps are heard
-
The sensor LED flashes green
-
The red alignment dot is positioned under the stop pin
-
-
If the activation ring is difficult to move:
-
Slightly loosen the safety ring beneath it by turning clockwise
-
-
Secure the activation ring:
-
Tighten the safety ring counter-clockwise to lock the activation ring in place
-
To deactivate the sensor, reverse the above procedure.
Note: Phosphine compatibility applies to PH₃ Smart Sensor models only.
3. Sensor Installation Best Practices
3.1 Mounting Options
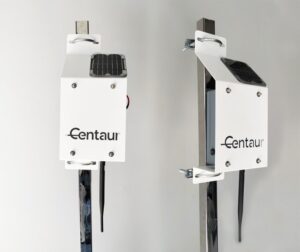
Sensors may be installed using one of the following methods:
-
Suspended using a cable rope and the Centaur Hanging Mount
-
Mounted on walls or silo structures using Centaur® wall or silo mounts
3.2 Placement Guidelines
-
Grain storage facilities typically include steel or reinforced concrete, which attenuates wireless signals.
-
At least one sensor should be placed near an opening (door, hatch, or window).
-
For silos:
-
Place at least one sensor close to an access point.
-
-
For shipping containers:
-
Place at least one sensor near the container door.
-
-
When installed inside metallic structures:
-
Maintain a minimum distance of 15 cm (6–7 in.) from walls.
-
3.3 Fumigation Sensor Placement
For phosphine monitoring:
-
Install sensors 100–150 cm (3–5 ft.) away from the fumigant source.
-
This prevents sensor saturation and preserves sensitivity to concentration changes.
4. Battery Life and Sampling Rate Considerations
Centaur® Smart Sensors are designed for autonomous operation over several years without battery replacement, under normal operating conditions.
4.1 Normal Operation Definition
Normal operation is defined as:
-
Sampling intervals no shorter than 3 hours
4.2 Best Practices
-
Sampling intervals ≥ 3 hours provide sufficient granularity for grain storage monitoring.
-
Longer sampling intervals significantly extend battery life.
-
Short sampling intervals (for example, 1, 5, or 30 minutes):
-
Reduce battery lifespan
-
Should be used only for testing or special scenarios
-
Battery replacement must be performed in collaboration with Centaur-certified technicians or representatives.
Any breach of the device enclosure or seals voids the warranty.
5. Repeaters and Network Extenders
5.1 When to Use Repeaters
Repeaters are required when:
-
Monitoring large facilities
-
Wireless signals must exit heavily shielded structures
-
Sensors are distant from the gateway
Repeaters should be distributed between sensors and the gateway, typically just outside the storage structure.
6. Repeater / Extender Activation
6.1 Activation
-
Press the repeater’s activation button once.
-
Confirm activation:
-
Two audible beeps indicate successful activation.
-
6.2 Repeater Models
| Model Type | Button Behavior | Deactivation Method |
|---|---|---|
| Latching button | Button remains pressed | Press button again |
| Momentary button | Button does not stay pressed | Hold button for 6 seconds |
-
Pressing an already active momentary button produces three beeps.
-
A single beep confirms deactivation on both models.
Once activated, the repeater is ready for placement.
7. Internet-of-Crops® Platform Access
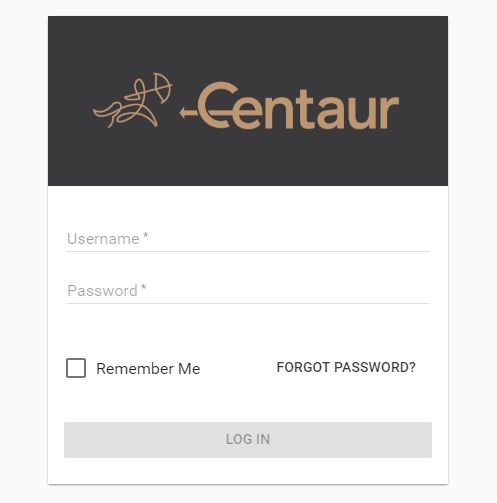
7.1 Logging In
-
Navigate to the Internet-of-Crops® platform login page.
-
Enter the username and password provided by Centaur.
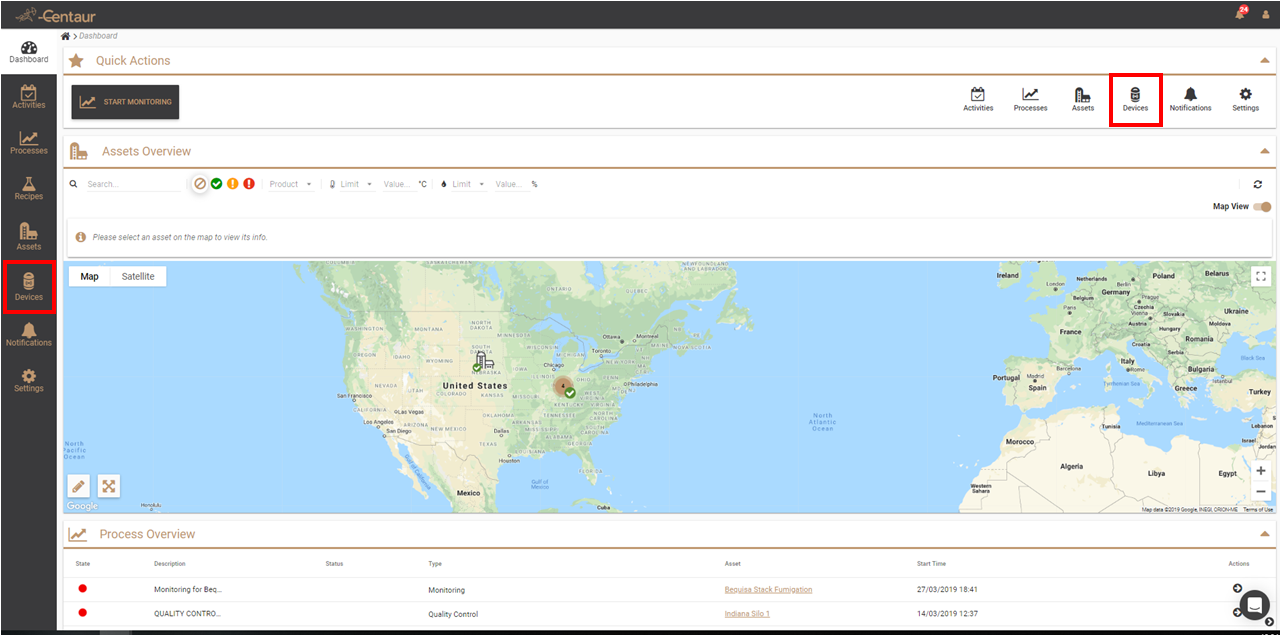
8. Dashboard Overview
8.1 Dashboard Purpose
The Dashboard provides a high-level overview of:
-
Assets
-
Activities
-
Processes
Shortcuts appear automatically once these items are created.

9. Managing Your User Profile
9.1 Accessing Profile Settings
-
Click the person icon in the top-right corner.
-
Select Profile.
9.2 Changing Your Password
-
Enter your current password.
-
Enter and confirm your new password.
-
Click Change to save.
Store credentials securely for future access.
10. Devices Section Overview
Navigate to Devices to manage gateways, sensors, and network status.
10.1 Devices Page Layout
The Devices page contains three vertical sections:
-
Gateways List
-
Displays all All-in-One Cellular Gateways linked to the account
-
-
Monitoring Network List
-
Displays sensors and their communication status
-
-
Control Panel – Network Status
-
Displays real-time scanning and connection results
-
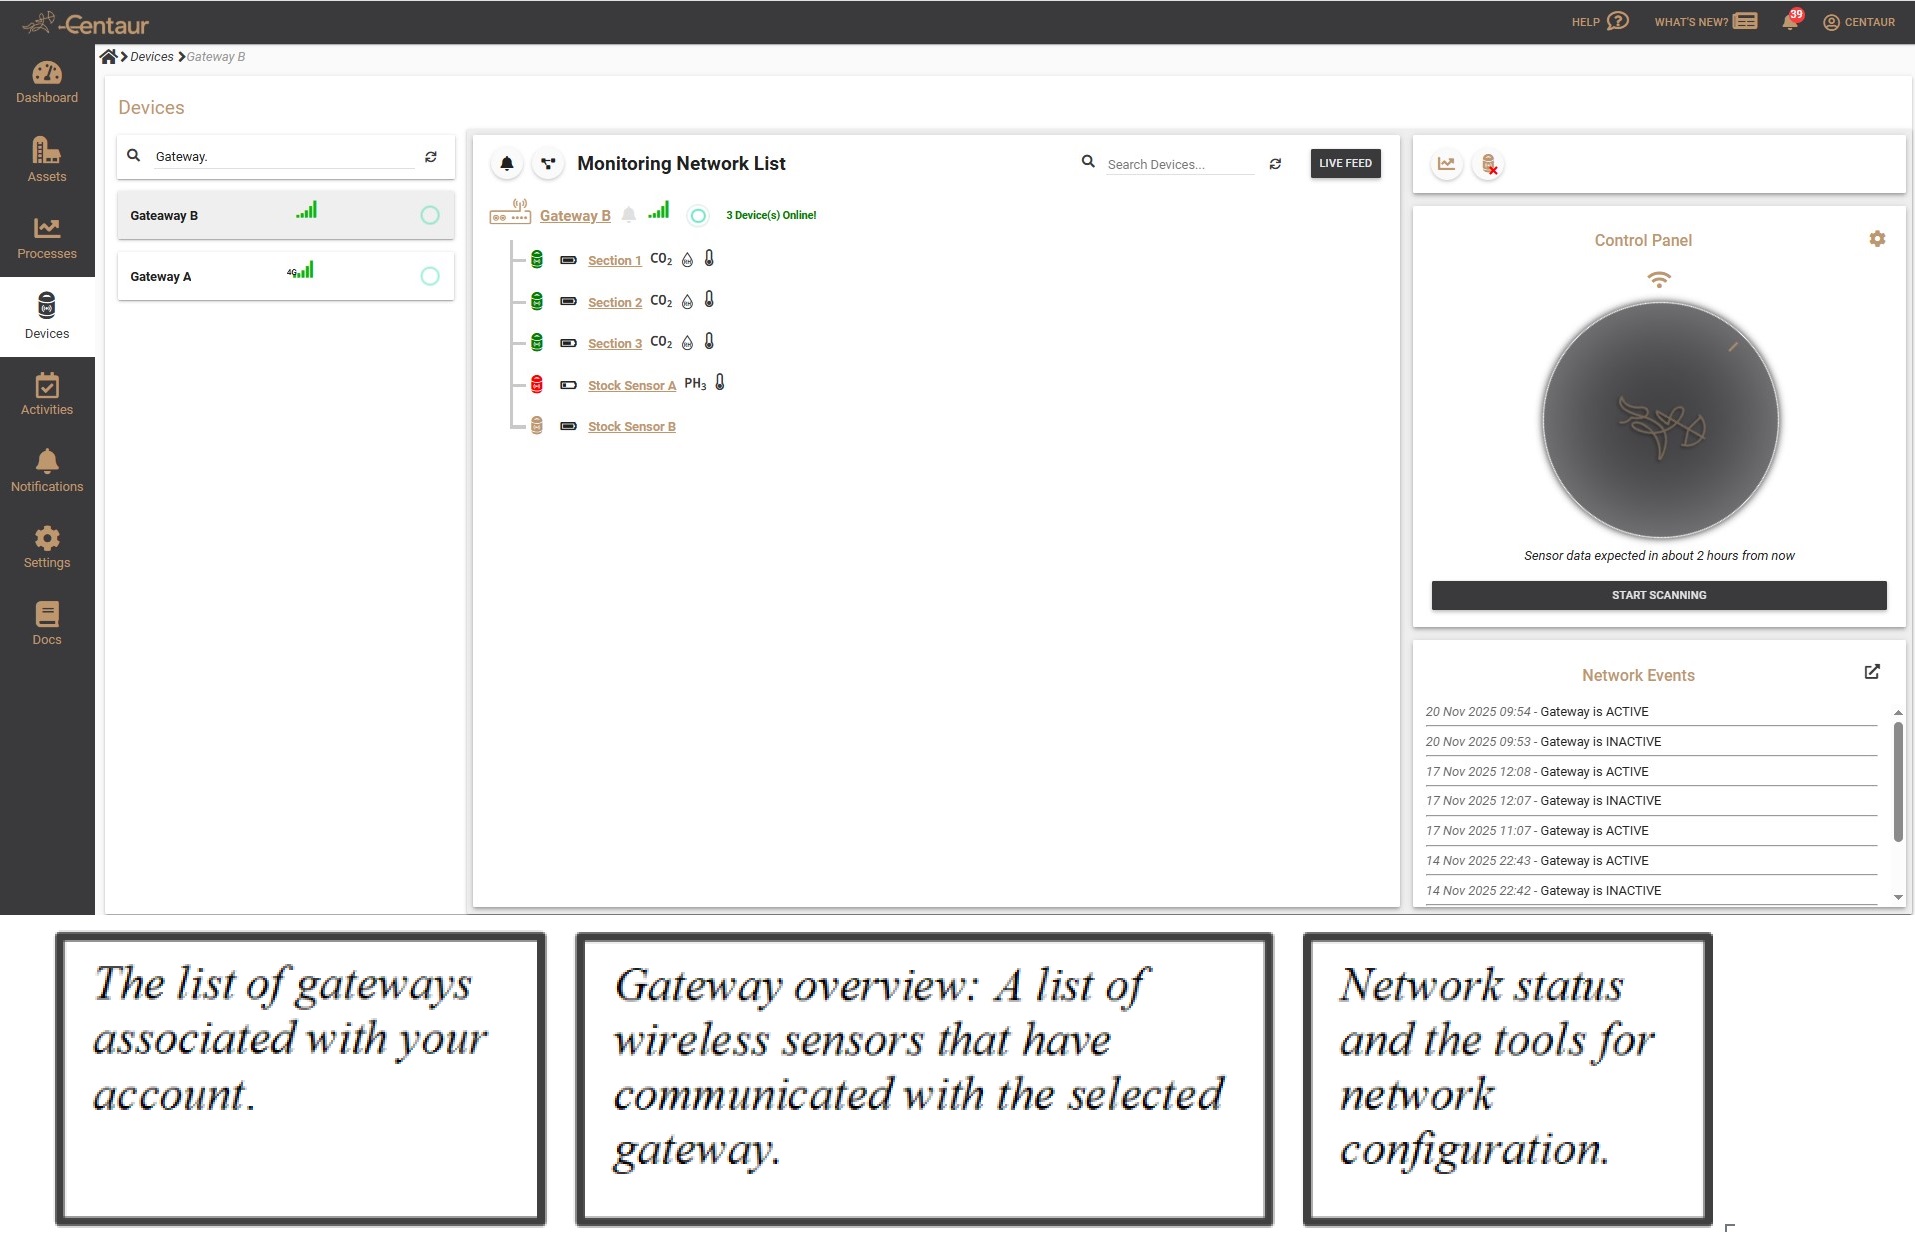
10.2 Gateway Status
-
A green flashing indicator confirms that the gateway is online and communicating with the platform.
11. Setting Up the Wireless Sensor Network
11.1 Start Scanning
-
Go to Devices.
-
Click Start Scanning.
During scanning mode:
-
Sensors wake more frequently
-
The gateway discovers new sensors
-
Sensors discover each other
-
The mesh network self-organizes
11.2 Best Practice
-
Activate sensors close to the gateway before final deployment.
-
This ensures successful discovery and network formation.
12. Sensor Status Indicators
During scanning and normal operation, sensors display the following states:
| Status Color | Meaning |
|---|---|
| Green | Actively communicating |
| Red | No recent communication |
| Brown | No communication since gateway reboot |
12.1 Troubleshooting Communication Issues
-
Add repeaters or extenders where needed.
-
Any Centaur® wireless sensor can temporarily function as a repeater if required.
13. Exiting Scanning Mode and Setting Sampling Period
-
Click Stop Scanning.
-
Select the desired sampling period (1 minute to 4 hours).
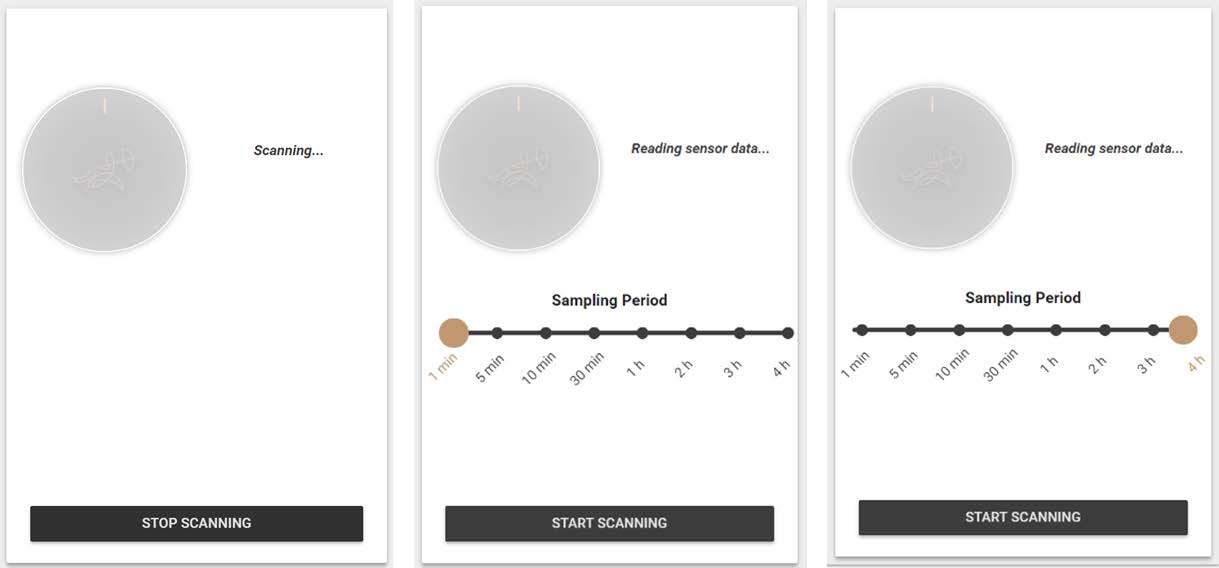
Recommendation:
Use sampling intervals longer than 3 hours for standard deployments.
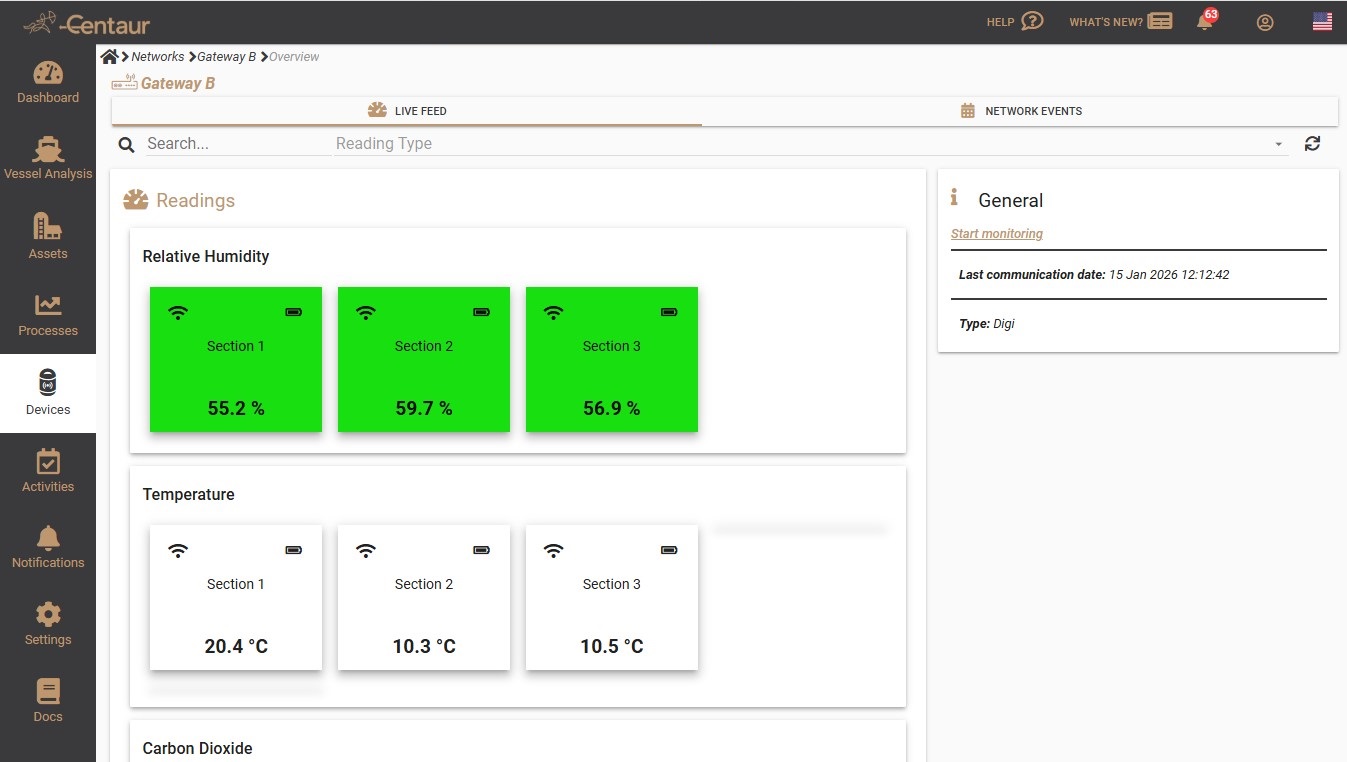
14. Viewing Sensor Data and Starting Monitoring
-
Use Live Feed to view real-time sensor data.
-
Click Start Monitoring to begin data collection under an Activity or Process.

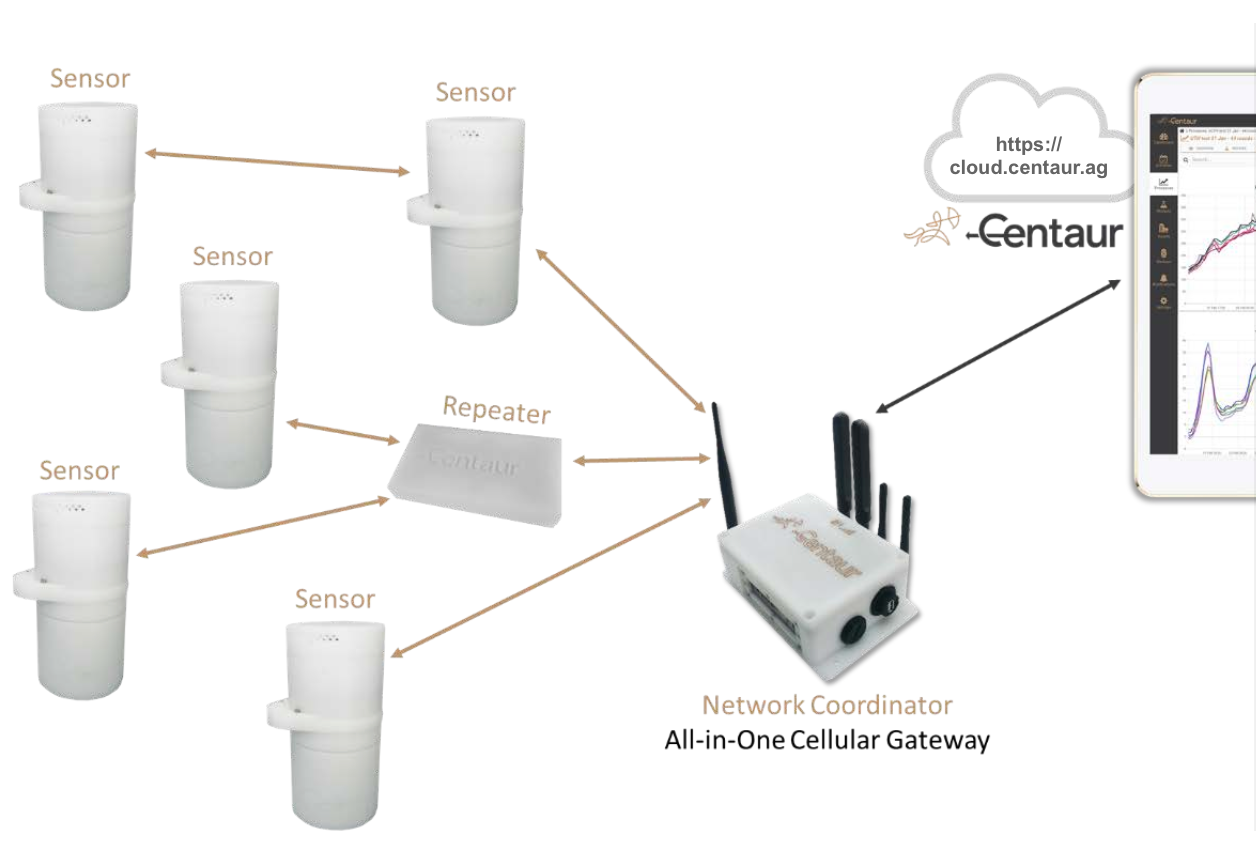
15. System Architecture Overview
15.1 On-Site Hardware Layer
-
Centaur® Smart Sensors
-
Repeaters / Extenders
-
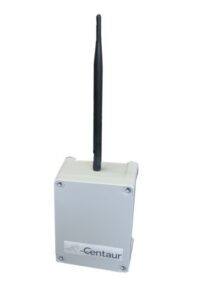
All-in-One Cellular Gateway
15.2 Cloud Platform Layer
-
Data visualization and graphs
-
Sensor readings
-
Analytics, predictions, and estimations
-
Alerts and notifications
-
Configuration and management tools
This layered architecture ensures reliable data collection on-site and advanced processing in the cloud.
Congratulations on choosing Centaur Solutions! Visit your platform by clicking here.